Wrapping up the CS:GO bomb project
Posted on 22th of July 2020.
The making of
In the last post about the project I left you off with a picture of the yet to be finished 3D print of the bottom of the case. I'm glad to tell you that the bomb has been finished, and works perfectly! If you haven't read the last (and first) post about this project, I highly suggest having a look at the post here.
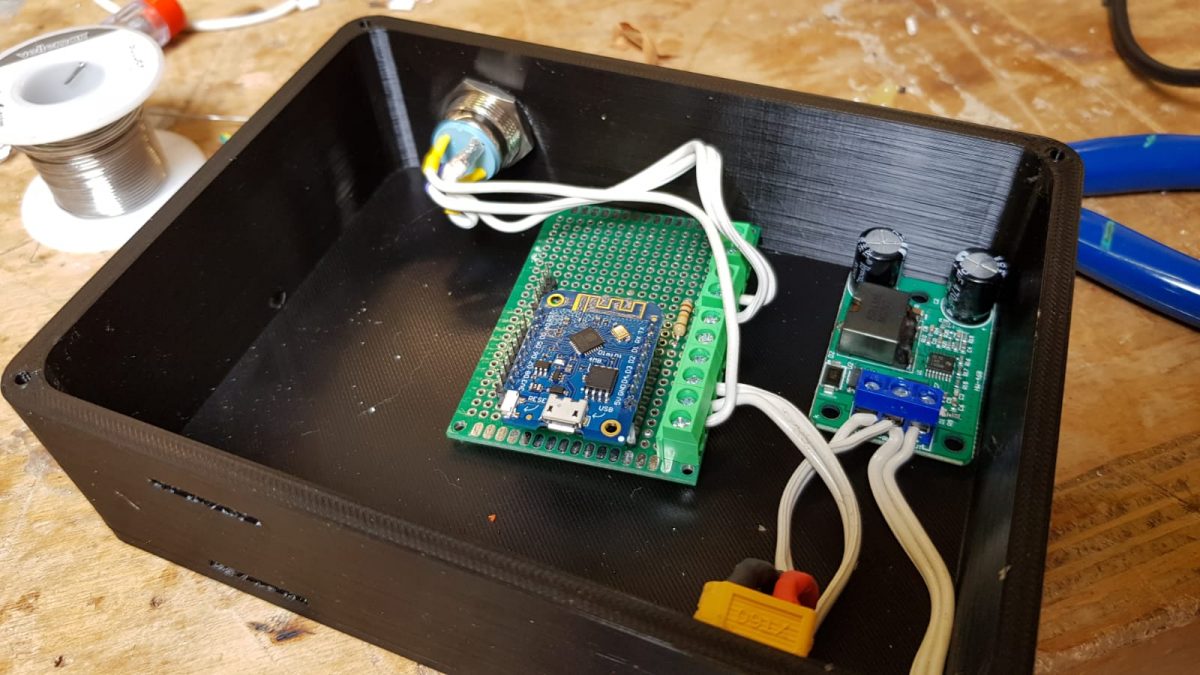
So: at this point all the parts have been 3D-printed. It was time to see if everything fits in the bottom part of the case! Remember, I designed (or rather: remixed) this model on my own, so there was a great chance that the dimensions would be a bit off. Luckily, everything fit together nicely at the first print. The most critical holes were the defuse-button hole, the XT60-shaped hole and the hole for the battery voltage indicator. The other 2 holes for the wires and the battery strap weren't really that critical, since it's fine if there's a little wiggle room.
 Fitting all parts in the bottom of the case for the first time.
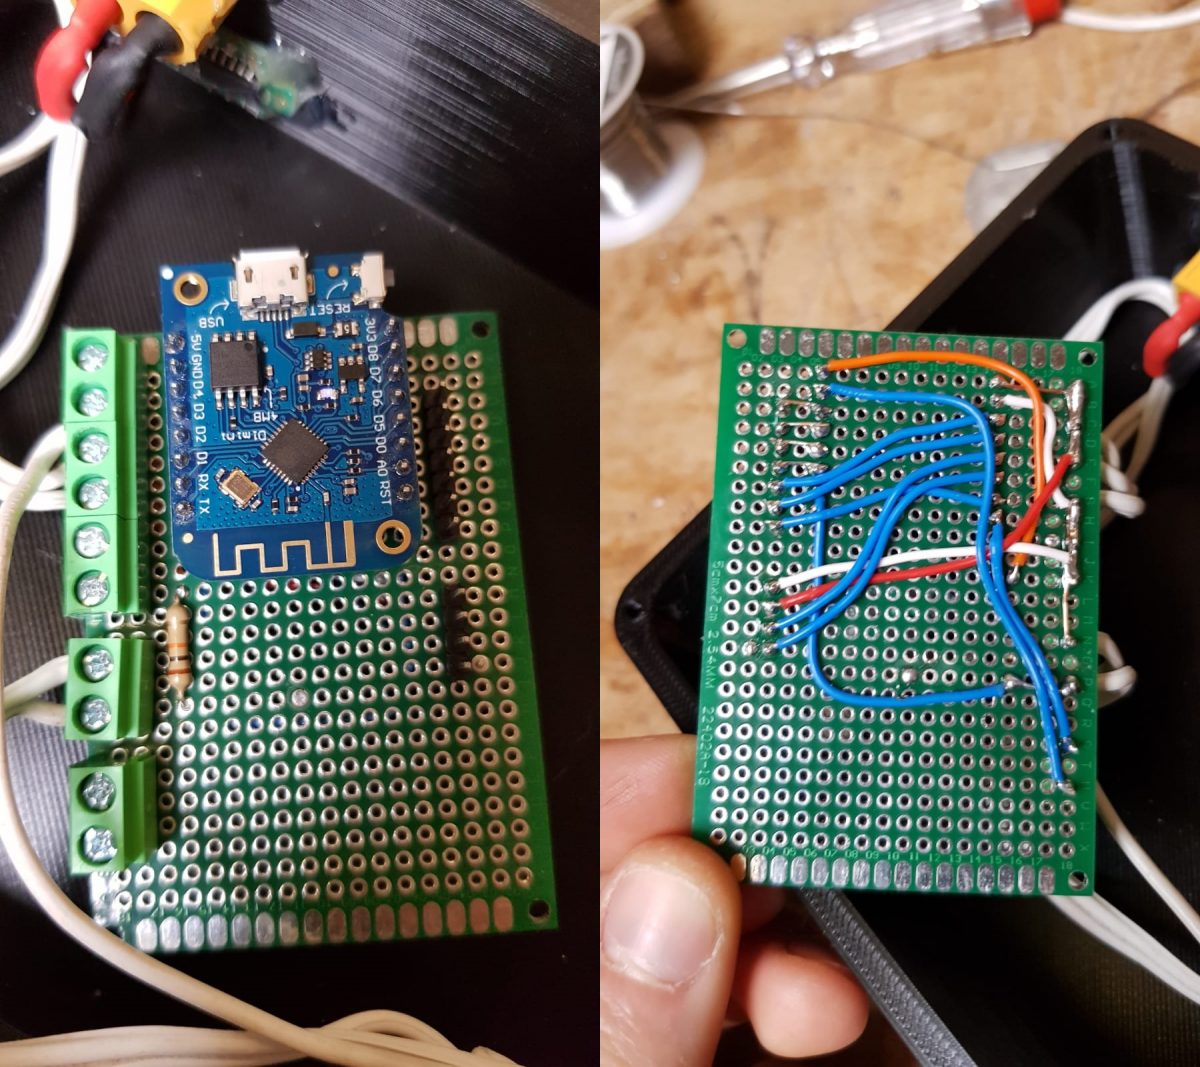
As you can see from the picture, I have also soldered the D1 mini board to some perfboard, with lots of connectors on it and once single resistor (which is a pull-up resistor for the defuse button).
 Closeups of the perfboard.
The block-terminals are used for power (+5v and ground), data pins (LEDs and beeper) and the button connectors. The male pin-headers are used for the keypad and the LCD screen. The D1 mini board is also installed using female pin-headers, so the board can be removed if needs be.
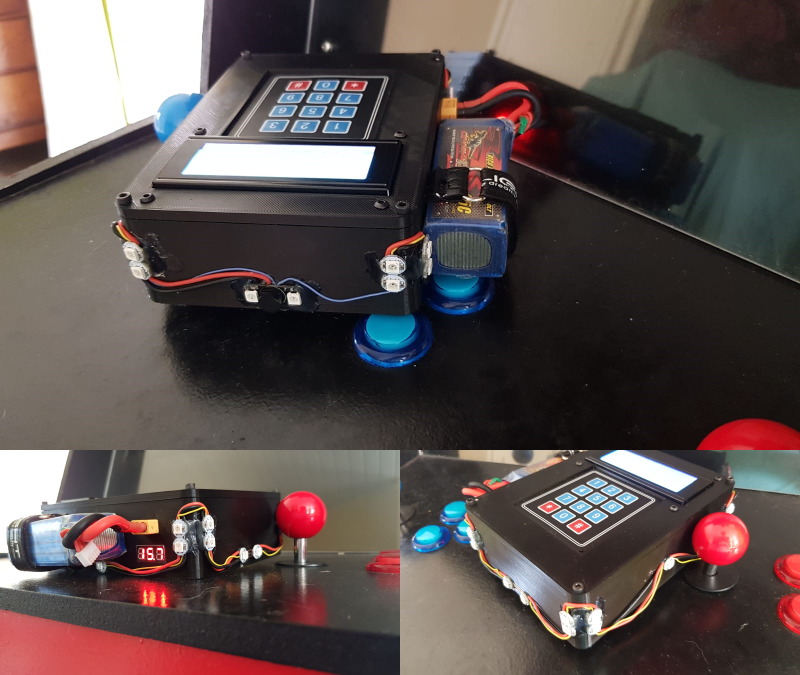
After hot-gluing the 5v buck converter and the custom-made perfboard in place, it was time to place the buzzer and lots of LEDs on the outside of the bomb. The LEDs are individually addressable WS2812B LEDs, so I can easily control each LED while only using one data wire. In the end I did not add any code to control each LED independently, but I can add this in the future if I want to.
After wiring and gluing the LEDs and beeper to the outside, the bomb was done! Well, the physical side of it at least. The firmware still needed some changes, more on this later.
 Photos of the finished product.
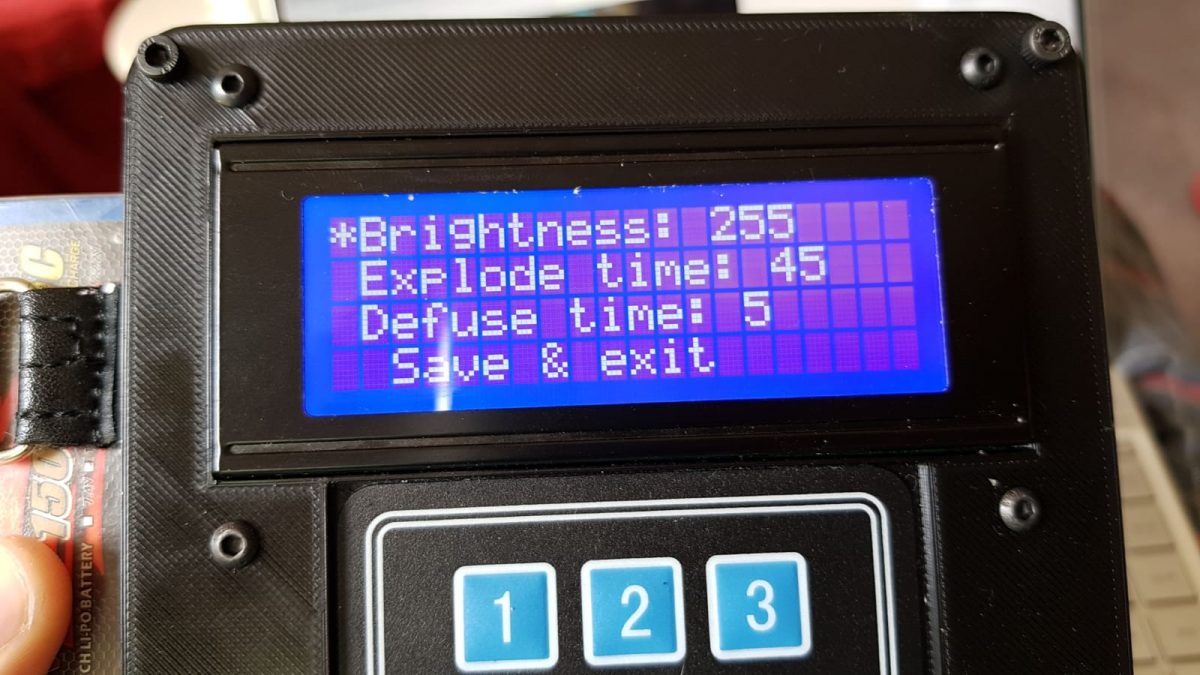
Like I said, the firmware still needed some adjustment. I wanted to be able to change the time after which the bomb would explode, and I also wanted to be able to change the defuse time on the fly. I thought about making these changes over the air using my laptop, but I have an LCD and a keypad on the bomb.. Might as well use it! So I made a little menu with which I can change a couple of parameters. These values are stored in the built-in EEPROM of the ESP8266.

And with this, the project is done. With the web server the bomb is hosting, I can write a program on my laptop to keep track of the state of the bomb. This way I can play certain audio files when, for example, the bomb explodes. I could connect my laptop to a big audio installation and a subwoofer, for example, to make it sound like an actual bomb exploded!
Bill of materials (BOM)
A full BOM for the bomb (pun intended). I bought almost all parts from Banggood, but I'm sure the parts can also be found on websites like Amazon. I had most parts laying around at home which made it a bit cheaper for me.
- D1 mini board - I suggest going for a board with more pins, like a NodeMCU ESP32 or ESP8266, because I used every single pin available. Even the TX and RX pins.
- 4x3 keypad - Uses 7 GPIO pins
- Loud beeper with WS2812B LEDs
- WS2812B LEDs - I used exactly 20, plus the additional 2 LEDs on the beeper
- Push button with built-in LED - Built-in LED is optional of course
- 20x4 LCD
- 5V buck converter
- Male XT60 connector
- Voltage meter
- Battery straps - These ones are used for FPV drones
- Any LiPo battery - I used a 4S 1500mAh one which is popular under the FPV drone hobby
- Any wires (preferably silicone)
- Any perfboard, block terminals and male/female headers - You can solder dead bug style if you want to
- Any 1-20K resistor (pull-up)
- Any M3 screws and buts
- Some hot glue 😉
- Any 3D printer and filament - I used an Ender 3 printer and black PLA filament
Possible revision 2
There are a couple things that I could have done better. If there will ever be a rev. 2 of my bomb design, these are the things I would change:
- Built-in battery with a charging circuit to allow charging from a USB port. I used a drone battery, battery strap and XT60 connector to save cost because these are things I have laying around at home;
- Change the loudness of the beeper in the menu, the beeper I got can't be adjusted in loudness;
- Use a microcontroller with more pins. I would love to have controlled the LED in the defuse button through the microcontroller as well, but I couldn't because there are simply not enough pins on the D1 mini board;
- Make a case design using the real bomb model in the game. I found the model of the in-game bomb here, but my design skills are simply not good enough to make changes to a model this complicated.
Links
Case design: https://www.thingiverse.com/thing:4543891
Arduino code: https://github.com/WouterGritter/CSGO-Bomb
And now..
The project is done! Now I'll have to start finding something else to make.. However, we can start playing some CS:GO matches in our garden using laser guns!
It was a lot of fun to make a CS:GO bomb simulation in hardware, in real life. I learned a lot, especially how to do more advanced 3D model design. I hope you've enjoyed reading these 3 blog posts as much as I did making the bomb!